Let's build a retro 3D engine (Doom engine)
by Linus Probert
Part 1 - Navigating a top down world
For as long as I’ve been “capable” at software development I’ve always wanted to build a doom style 3D engine. I have some experience in game development but I’m also humbled by the fact that I’ll never have time to develop a 3D game. All the time needed beside actual coding (which is what I like) such as 3D modeling (which I suck at), level design (boring…) and sound design (maybe boring?). So for serious game projects I’ll stick to 2D.
But that doesn’t mean I don’t want to understand and be able to implement a Doom style graphics engine just to toy with.
Now, there are a few good video tutorials for this. I however will prefer a written guide any day of the week. I just feel it helps me understand better. I could not find a good written guide however. So this is me trying to fill that void in a few blog posts. Especially in regards to the math parts of the engine. I remember a lot of things from school, but trigonometry and algebra is not at the forefront of those memories.
So to start with, I need to refresh that.
First things first. Doom, as I’m sure hasn’t escaped anyone who enjoys video games, isn’t real 3D. The player is moving on a plane and walls are drawn in using vertical lines of different height creating the illusion of depth. The maps were in fact just a set of walls and it wasn’t possible to have rooms above rooms.
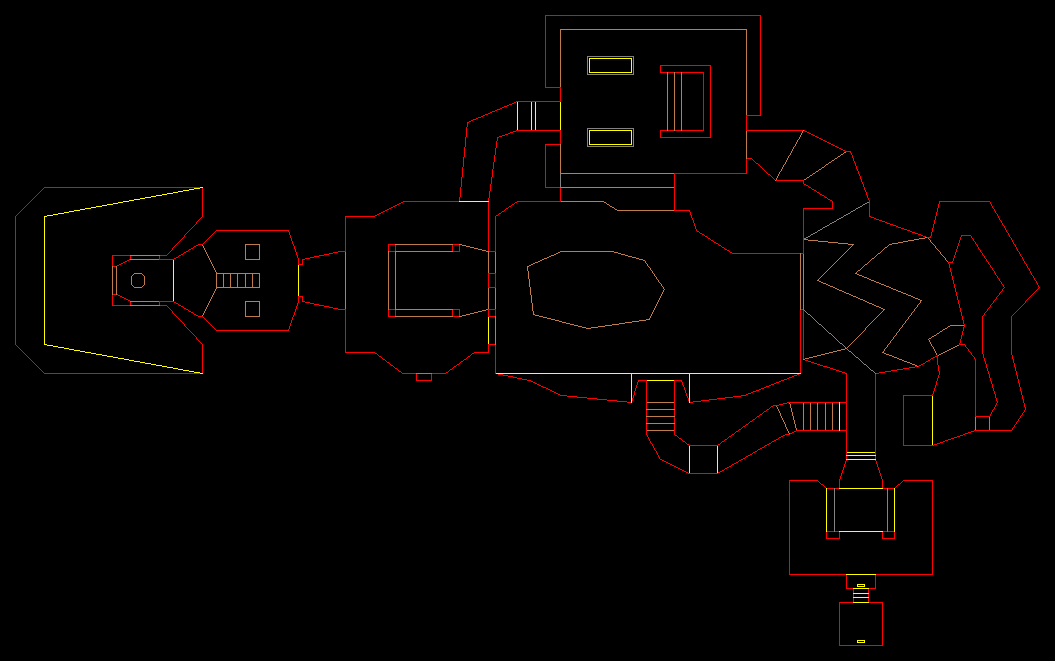
 Doom level 1 (E1M1)
The map above might be familiar to some. It’s the first level of Doom. And the data visible in the image is more or less all data that should be needed in my (our) future game engine. Although I doubt I’ll be creating any large levels. Time will tell.
Code?
Of course there will be code. Duh, that’s what I do. I chose C for this project because I like it and I think you should practice it. But I’ll try and maintain some examples to make this series of posts more or less language agnostic. How’s that sound?
Feel free to steal my stuff here.
At the time of writing it’s not much. There is some common code I know I will re-use and three executables.
Getting our hands dirty
If you are following along with your own code you’ll need a way of drawing pixels (lines is nice to have in the early stages but not a must have) to the screen and you need to be able to receive user input, think keyboard and mouse (you know the W,A,D,S and stuff).
If you’ve picked a language already then take a minute to find a good code oriented game framework to use here. I recommend SDL. It has bindings to most languages and compiles to all platforms you can think of (and I’m a contributor wink wink).
For this first part it might be enough to look at what I did here. For future steps you might not want to just skim the text if you plan on remembering anything.
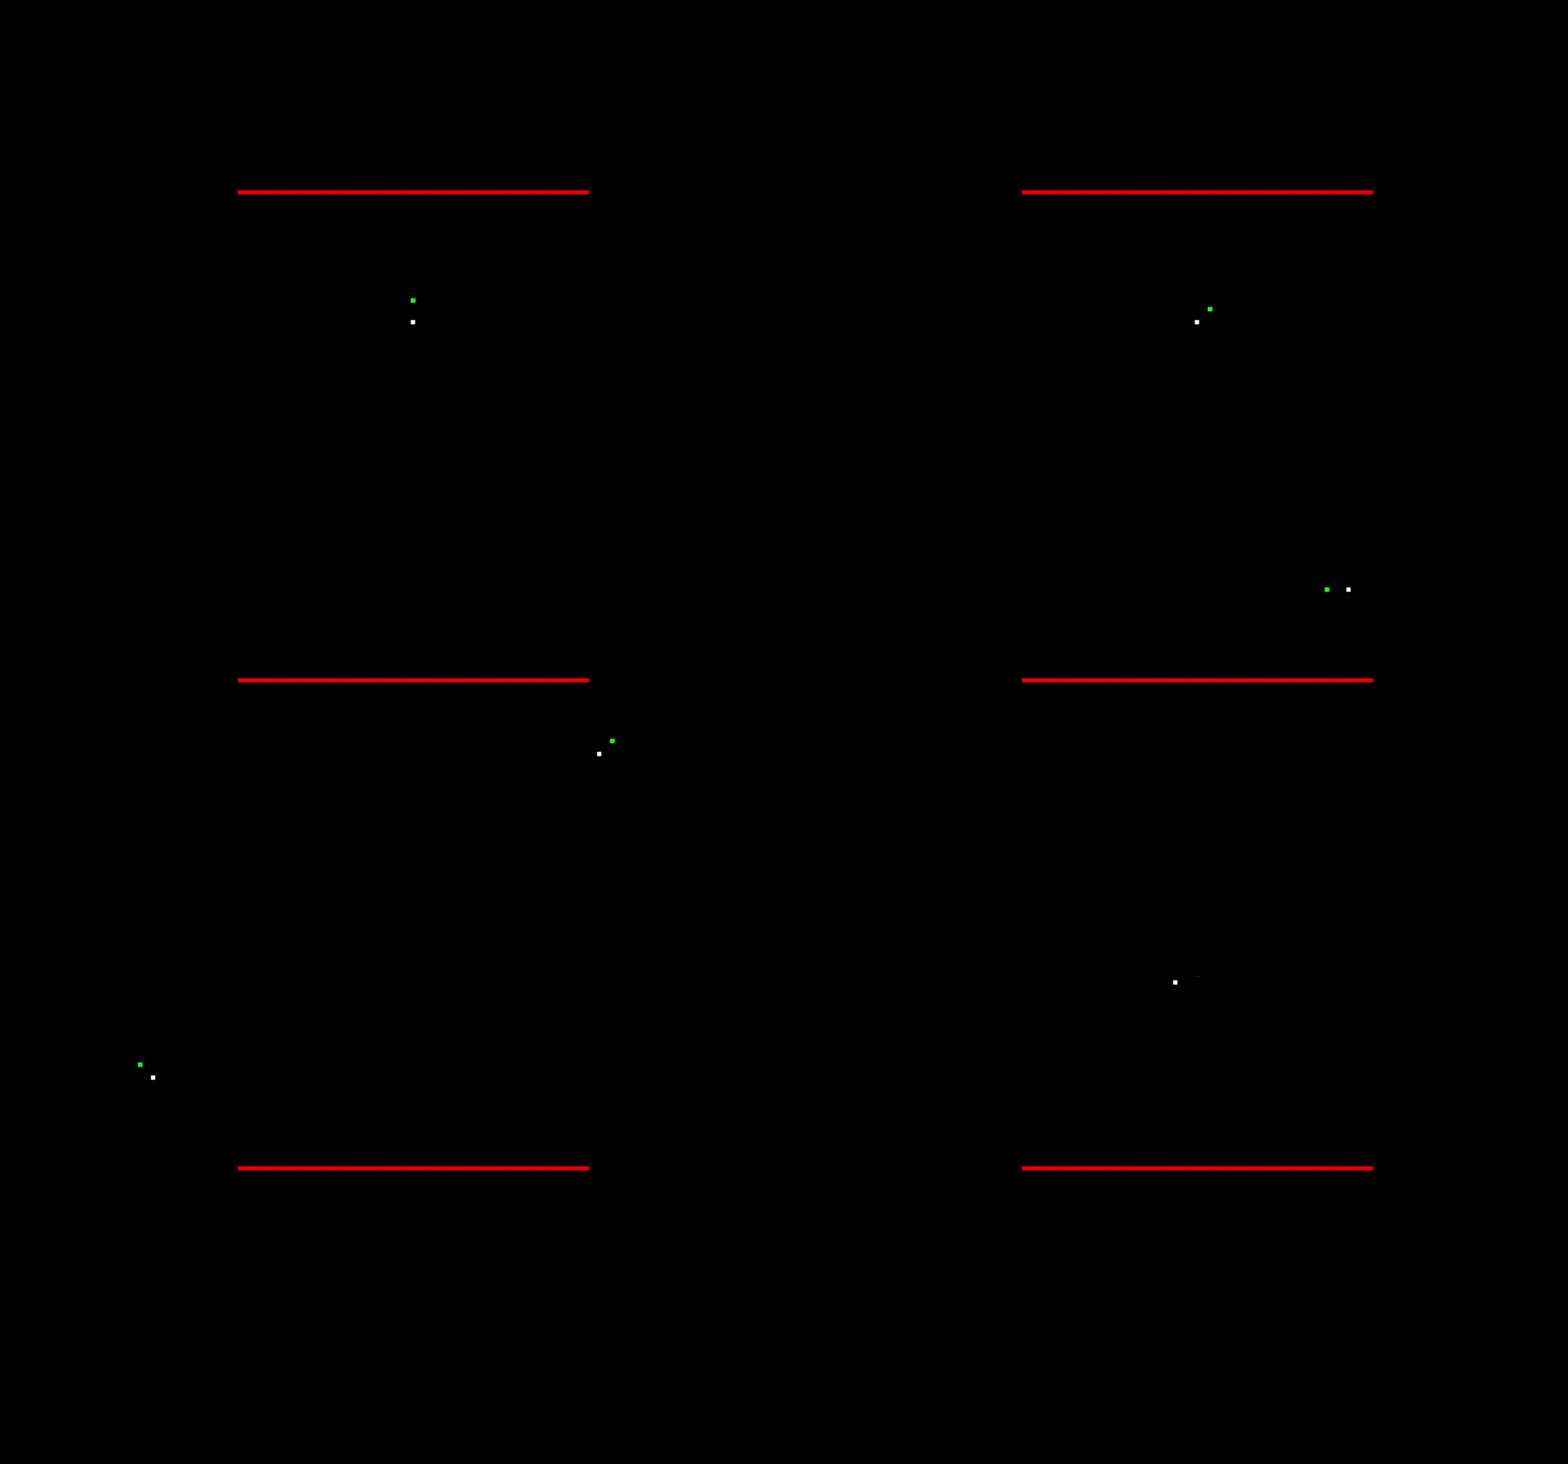
So, let’s start with making something where one can move around in a top down world. I think that’s a good place to start in this adventure. Really basic.

The fiddly part with the above is moving in the direction that we are pointing. It’s actually not super fiddly. Just basic Pythagoras and trig.
#define rad(deg) (deg/180.0 * M_PI)

void player_move(Player *player, Controller *ctrl)
{
    /* Increment player rotation */
    player->a += ctrl->xrot;

    /* Ensure that angle stays between 0-359 */
    if (player->a < 0)
        player->a += 360;
    if (player->a >= 360)
        player->a -= 360;

    /* Calculate movement vector from current angle
     * `5.0` below is our movement velocity. */
    float dx = sin(rad(player->a))*5.0;
    float dy = cos(rad(player->a))*5.0;

    /* Move back and forth */
    if (ctrl->forward) { player->x += dx; player->y += dy; }
    if (ctrl->backward) { player->x -= dx; player->y -= dy; }

    /* Strafe left/right */
    if (ctrl->right) { player->x += dy; player->y -= dx; }
    if (ctrl->left) { player->x -= dy; player->y += dx; }
}
The same logic is used when drawing the player (white dot) and the direction indicator (green dot).
#define SW      160     /* Screen width */
#define SH      120     /* Screen height */
#define HSW     SW/2    /* Half screen width */
#define HSH     SH/2    /* Half screen height */

static void draw(SDL *sdl, Player *p)
{
    int wx1, wx2, wy1, wy2, px, py, rx, ry;
    float dx;
    float dy;

    /* Define a wall */
    wx1 = -40;
    wx2 = 40;
    wy1 = 30;
    wy2 = 30;

    /* Player direction indicator */
    dx = sin(rad(p->a))*5.0;
    dy = cos(rad(p->a))*5.0;
    rx = p->x + dx;
    ry = p->y + dy;

    /* Convert to screen coordinates (center at 0x0)
     * Note that SDL has 0x0 in top left and y increases downwards */
    wx1 += HSW;
    wx2 += HSW;
    wy1 = 0 - wy1 + HSH;
    wy2 = 0 - wy2 + HSH;

    /* Convert player position */
    px = p->x + HSW;
    py = 0 - p->y + HSH;

    /* Convert the direction indicator */
    rx += HSW;
    ry = 0 - ry + HSH;

    /* Render wall */
    SDL_SetRenderDrawColor(sdl->renderer, 255, 0, 0, 255);
    SDL_RenderDrawLine(sdl->renderer, wx1, wy1, wx2, wy2);

    /* Render player */
    SDL_SetRenderDrawColor(sdl->renderer, 255, 255, 255, 255);
    SDL_RenderDrawPoint(sdl->renderer, px, py);

    /* Render direction indicator */
    SDL_SetRenderDrawColor(sdl->renderer, 0, 255, 0, 255);
    SDL_RenderDrawPoint(sdl->renderer, rx, ry);
}
Let’s take it up a notch
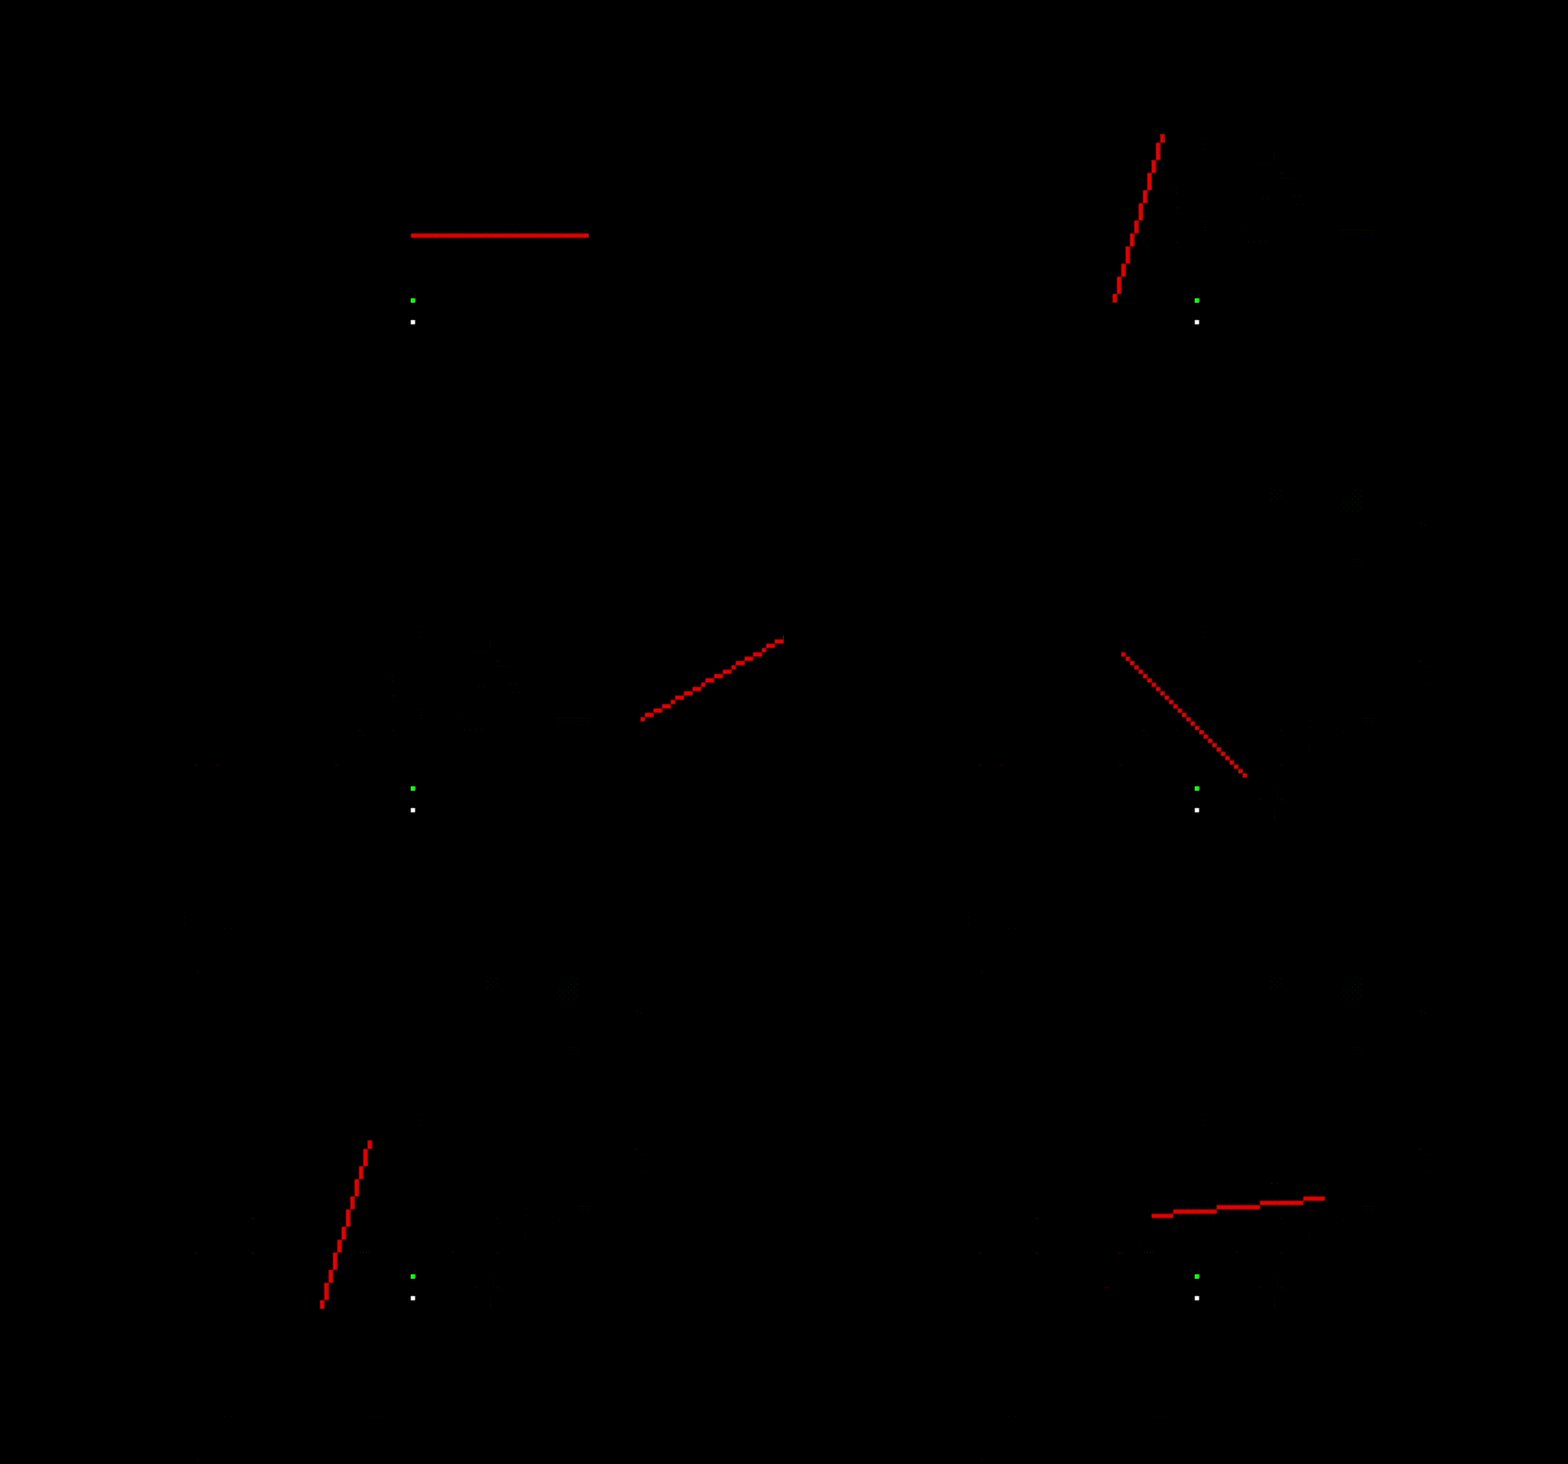
The above code and example displays how I and most humans (I guess) think of a 3D world. A world where the player navigates through the world. I’m going to assume you’re aware that this is not the case. In 3D today the player view is at the center of the world and we instead move the world around the player. This is how it’s done in modern 3D engines today. If you think about it for a while it starts to make sense (it does for me at least). So let’s change it up. Let’s make the same demo. But this time the player stays in the center always looking forward (up) and we move the world around the player instead.

The main difference in the code now is that we need to transform the wall according to the players position. Nothing has changed in the logic that moves the player. That is all the same and I’m hoping it will stay the same for the foreseeable future (because I made a library and having to alter it a lot defeats the purpose).
The only thing that has changed is the rendering. So let’s look at that.
#define SW      160
#define SH      120
#define HSW     SW/2
#define HSH     SH/2

static void draw(SDL *sdl, Player *p)
{
    int wx1, wx2, wy1, wy2;
    int wx[2], wy[2];
    float CS = cos(rad(p->a));
    float SN = sin(rad(p->a));

    /* Define a wall */
    wx1 = -40;
    wy1 = 20;
    wx2 = 40;
    wy2 = 20;

    /* Offset the wall according to players position
     * (ie. Make player position the origin) */
    wx1 -= p->x;
    wx2 -= p->x;
    wy1 -= p->y;
    wy2 -= p->y;

    /* Rotate wall according to player position */
    wx[0] = wx1*CS-wy1*SN;
    wy[0] = wy1*CS+wx1*SN;

    wx[1] = wx2*CS-wy2*SN;
    wy[1] = wy2*CS+wx2*SN;

    /* Convert to screen coordinates (center at 0x0)
     * Note that SDL has 0x0 in top left and y increases downwards */
    wx[0] += HSW;
    wx[1] += HSW;
    wy[0] = 0 - wy[0] + HSH;
    wy[1] = 0 - wy[1] + HSH;

    /* Render wall */
    SDL_SetRenderDrawColor(sdl->renderer, 255, 0, 0, 255);
    SDL_RenderDrawLine(sdl->renderer, wx[0], wy[0], wx[1], wy[1]);

    /* Render player (static) */
    SDL_SetRenderDrawColor(sdl->renderer, 255, 255, 255, 255);
    SDL_RenderDrawPoint(sdl->renderer, HSW, HSH);

    /* Render direction indicator (static) */
    SDL_SetRenderDrawColor(sdl->renderer, 0, 255, 0, 255);
    SDL_RenderDrawPoint(sdl->renderer, HSW, HSH - 5);
}
For this particular part I had to do some research and refresh my math skills. I knew due to my master logic that there were two steps to this rendering.
- Move the world (just one wall) so that player position becomes the origin
- Rotate the world (still just one wall) around according to players rotation
For the latter I found this site which brought it all back to me. Omitting roughly 42 minutes of tearing my hair and cursing my computer, the process was in fact quite simple.
Summarizing it all
Well, the post is getting long so I’m going to end here. We have code that takes world data and transforms it onto screen so that it can be viewed from above.
We brushed up on some maths and established that the only thing that will change in the next step is how we draw the information about the world onto the screen. I will save that for the next step. Mostly because I still need to read up on some maths and transformations to accomplish that.
Hope you enjoyed! Leave a comment if you think I’m taking to long with part 2.
tags: sdl2 - doom - game - 3d